How to Use a Digital Meat Thermometer: A Step-by-Step Guide


 288 Comments


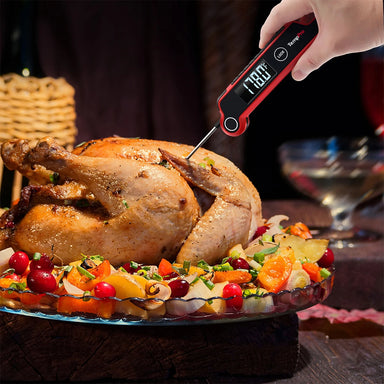
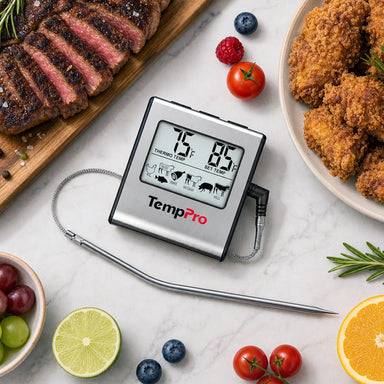
To use a meat thermometer, insert the probe into the thickest part of the food, avoiding bones, fat, and gristle. Wait for the temperature reading to stabilize, then compare it with the recommended internal temperature for the food you're cooking. For the most accurate reading, make sure the probe tip is positioned in the center of the thickest portion rather than touching the pan, grill grate, or bone. For food safety, USDA recommends cooking beef, pork, lamb, and veal steaks, chops, and roasts to at least 145°F, ground meats to 160°F, and all poultry to 165°F.
Want to know how to use digital meat thermometers? Get quickly acquainted with these convenient tools that serve as a useful investment for your home. By using a digital meat thermometer in your kitchen, you can take the guesswork out of cooking. Make perfectly cooked meat every time you eat!
In this article, we’ll take you through the process each step at a time by using our products as an example. Here, you’ll find the directions to three types of thermometers: instant-read thermometers, meat thermometers with probes, and wireless meat thermometers.
All three types of thermometers work similarly; read below to discover the difference, and to learn how to use a digital meat thermometer.
Table of Contents
How to Use an Instant-Read Thermometer?
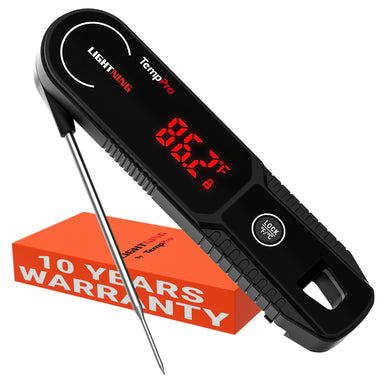
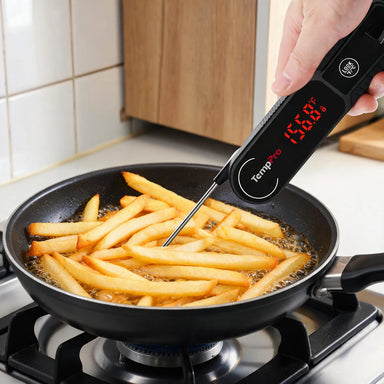
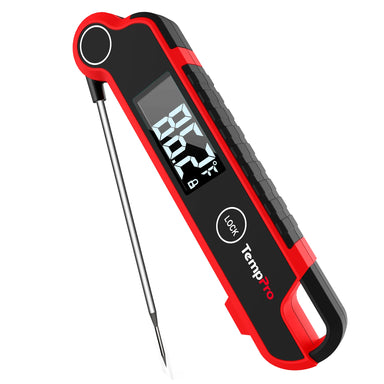
An instant-read meat thermometer is a handy kitchen cooking tool that enables you to measure internal food temperature quickly and accurately. Typically, they have a digital display and will provide you with accurate readings within seconds to tell you the level of food doneness, helping cook your meat perfectly every time. The meat probe of the thermometer can insert easily into meat, and it has a comfortable handle to hold onto while measure your food temperature.
Below is a step-by-step guide to tell you how to use an instant-read thermometer. Let’s go through this!
- Before using an instant-read thermometer, ensure that its batteries are inserted. Test the product by turning it on and having it read the ambient temperature of your surrounding environment.
- Before cooking, decide at what temperature your food will be cooked well. Different food, like fish and poultry require different internal temperatures. For example, beef has different cooking temperatures according to specific levels of doneness (e.g. rare, medium, and well-done). You can find the USDA approved meat temperatures chart.
- During the cooking process, insert the probe of the thermometer into your meat from time to time. Keep track of its current temperature as it continues to get hotter.
- When your food has been cooked to your desired temperature, remove your food from heat, and let it stand for a while if it’s excessively hot. Once it has reached a proper serving temperature, enjoy your food!
- Caution: be wary of touching the probe after insertion because it may be hot!

How to Use a Meat Thermometer with Probe?
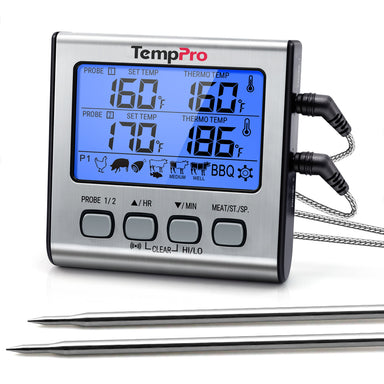
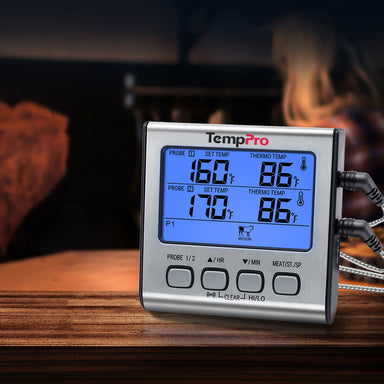
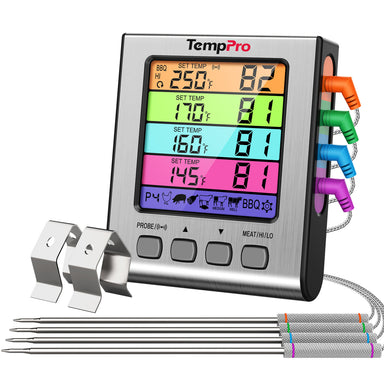
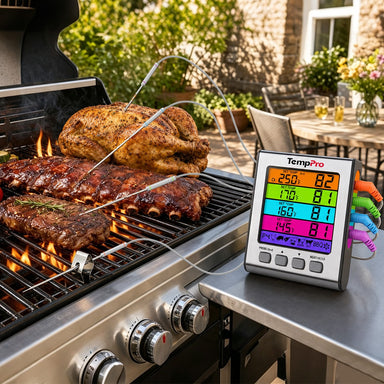
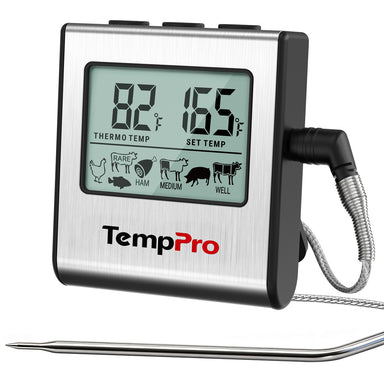
A Meat thermometer with probe is ideal for BBQ, smoking as well as oven roasting due to its convenience of measuring food temperatures. It can be used in meat preparation, and it stays embedded in the meat as it cooks to give you ongoing readings and then sound an alarm when the set temperature is achieved. With it, you can check the doneness of food easily to avoid undercooking and overcooking. Now,
Now, you can walk through the easily guide on how to use a meat probe thermometer.
- Before using a meat thermometer with a probe, check whether its batteries are inserted correctly or not. If properly done, it should display a temperature when activated.
- Before cooking, determine at which temperature your food will be cooked well. Different ingredients, like fish and poultry require different internal temperatures. Beef and lamb steaks have different cooking temperatures according to specific levels of doneness (e.g. rare, medium, and well-done). You can check meat temperatures online or with the USDA.
- Next, insert the food probe into your meat before the cooking process. Ensure the transmitter is away from the heat source; only the probe and probe wire should be inside the oven or near the heat of your BBQ.
- While keeping the probe firmly inserted in the meat, continue to check the reading of the transmitter throughout the cooking process. Keep track of your food’s internal temperature until it has been cooked to your liking.
- Finally, once your food has been cooked to your liking, simply remove the probe (careful, it will be hot!). After letting it stand for a while if excessively hot, you can now enjoy your perfectly prepared meal!

How to Use a Digital Wireless Meat Thermometer?
As its name suggest, a wireless meat thermometer is a kitchen tool that enables you to stay up to hundreds of feet far away from kitchen during the cooking. This kind of thermometer can be useful to check of the temperature of various food without even physically approaching them. The receiver can be a handheld device or a mobile app that shows current temperature and alarm, when your food is done. This is very convenient given that once set. You don’t have to stay in the kitchen all the time staring at the food being grilled or baked, but you can focus on other important things, like entertaining guests. Being a wireless device, this kind of meat thermometer helps improve the accuracy and also simplify the cooking process. Therefore, it is advisable for the new and experienced cooks to get one with the higher features.
Below is the simple tutorial on how to use a wireless meat thermometer. Let’s get started.
- To begin with, ensure the batteries are inserted correctly in the wireless meat thermometer and all temperature probes are securely plugged into your transmitter. If properly done, your device should display a temperature when activated. If you are having trouble syncing the two devices, simply remove and replace the batteries for each device, starting with the transmitter.
- Before cooking, check at which temperature your food will be cooked.
- Then, insert the meat probe into your meat. Ensure the transmitter is away from the heat source; only the probe and probe wire should be inside the oven or BBQ. Keep the probe firmly inserted into your meal throughout the cooking process. Continue to check the reading on the receiver until your food has been cooked to your liking.
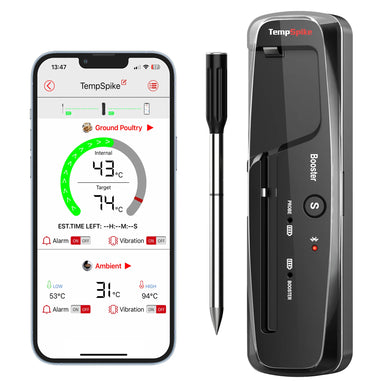
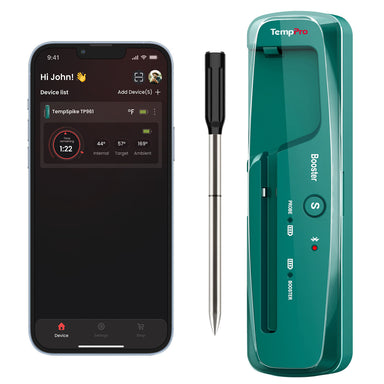
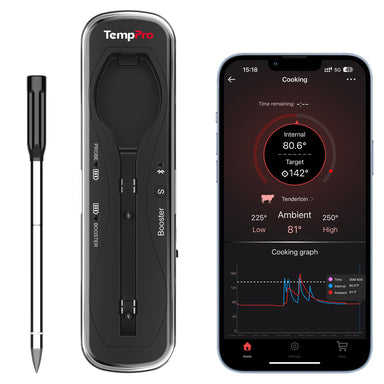
- Because of the wireless functions of our product, feel free to do other tasks while carrying the receiver with you or placing it on a nearby surface. TempPro TP980 Smart Bluetooth Meat Thermometer uses both Wi-Fi and Bluetooth 5.2 technology to lets you monitor food temperature from anywhere.
- Finally, once your food has been cooked, simply remove the meat probe from your food. Careful, it will be hot! After letting it stand for a while if excessively hot, you can now enjoy your perfectly prepared meal!

Where to Insert a Meat Thermometer
Where you place the thermometer matters just as much as the thermometer itself. The probe should reach the thickest part of the food because this area generally takes the longest to cook.
For the most reliable reading:
-
Chicken breasts: Insert the probe into the thickest part of the breast, avoiding the bone.
-
Whole chicken or turkey: Check the thickest part of the breast and the innermost part of the thigh and wing.
-
Steaks and roasts: Insert the probe into the thickest part of the meat, preferably from the side if the cut is relatively thin.
-
Pork chops: Check the thickest section without touching the bone.
-
Ground meat: Insert the probe into the center of the thickest portion.
-
Thin foods: Insert the probe from the side so the tip reaches the center of the food.
Avoid letting the probe touch bone, the cooking pan, or the grill grate. These surfaces can affect the reading and may not accurately represent the temperature inside the food.
FAQs about Using Meat Thermometers
How deep should you insert a meat thermometer?
The probe should reach the thickest part of the food, with the tip positioned near the center of that portion. Avoid touching bone, fat, gristle, the pan, or grill grate because these can affect the reading. For thin foods, inserting the probe from the side can make it easier to reach the center.
When should you use a meat thermometer?
It depends on the type of thermometer. An instant-read thermometer is generally used near the end of cooking for a quick temperature check, while a leave-in or wireless probe thermometer can remain in the food throughout cooking. In either case, check the temperature before deciding the food is done.
Can I leave a meat thermometer in the oven?
Only if the thermometer is specifically designed for leave-in oven use. Instant-read thermometers are intended for quick measurements and should generally be removed after checking the temperature. A leave-in probe thermometer is designed to remain in the food while it cooks.
Can I use a meat thermometer for other foods?
Yes. A food thermometer can be useful for more than meat. Depending on the thermometer's temperature range and design, it can also be used to check poultry, fish, sauces, soups, frying oil, baked goods, and other foods. Always follow the thermometer manufacturer's instructions and the temperature guidance for the food you are preparing.
Why does my meat thermometer give different readings?
Different readings can occur if the probe is placed in different parts of the food. The outside can be hotter than the center, and thicker areas may cook more slowly. Make sure the probe is positioned consistently in the thickest part and does not touch bone or cookware. For large foods, checking more than one location can help you find the coolest spot.
Can I rely on a meat thermometer instead of cooking time?
Yes, for determining internal temperature, a thermometer is generally more reliable than cooking time alone. Cooking time is affected by the size and thickness of the food, starting temperature, cooking method, and equipment. USDA recommends using a food thermometer to verify that food has reached the appropriate safe internal temperature.
Conclusion
These directions tell you how to use a digital cooking thermometer. Simply put: these are simple, easy-to-use devices that provide quick and accurate results each time you use them. Our digital meat thermometers provide an affordable and quality product that will allow you to cook almost anything! At TempPro, we provide a range of different thermometers that cater to each individual’s liking.
If you’re unsure which product is right for your situation, please feel free to browse TempPro Meat Thermometer Shop.
Knowing how to use a meat thermometer is one of the easiest ways to take the guesswork out of cooking. Whether you prefer a quick instant-read thermometer or a leave-in wireless model for longer cooks, the right tool can make it easier to monitor food temperature with confidence.
Looking for a deal? Visit the TempPro Clearance Sale to find limited-time savings on select meat thermometers and kitchen essentials.


Comments
You May Also Like


Recommended Products