Bacon-Wrapped Cheese-Stuffed Chicken Breast

Last updated Jun 11, 2026


Print recipe


Jump to Recipe


Bacon-Wrapped Cheese-Stuffed Chicken Breast
 Servings: 3-4
 Total: 45M
 Prep: 15M
 Cook: 30M

5.0
Print recipe


Pinterest


Recipe Preparation
- 1 lb chicken breast, thinly sliced into medallions
- 1 full pack of bacon, thick-cut preferred
- 4 oz cream cheese, softened
- 1 cup cheddar or mozzarella, freshly grated
- 2 medium potatoes, peeled and thinly sliced
- ¼ cup fresh parsley, finely chopped
- 1 small pat of butter, for greasing the pan
- 1 tsp smoked paprika
- 1 tsp sea salt
- 1 tsp black pepper, freshly ground
Recipe Instructions
1
Build the Bacon Shell: Choose your shaping tool - a large spoon, a ladle, or a small dome bowl works beautifully. Lay the bacon slices side-by-side inside the spoon, overlapping them slightly and letting the ends hang over the edges. Think of it as putting a cozy "bacon jacket" on your dish.
2
Create the First Potato Layer: Place a layer of your thinly sliced potatoes directly over the bacon base. Season them generously with smoked paprika, sea salt, and freshly ground black pepper.
3
Mix the Cheese Filling: In a small mixing bowl, combine the softened cream cheese, freshly grated cheese, and finely chopped fresh parsley. Stir everything together until it forms a thick, rich, and aromatic herb-cheese paste.
4
Stack the Chicken and Cheese: Lay down a layer of thin chicken breast slices over the seasoned potatoes. Give the meat another light dust of salt and pepper. Scoop a generous dollop of your rich cheese mixture right on top of the chicken breast, spreading it evenly.
5
Keep Stacking: Add another layer of thin potato slices, season them, follow with another layer of chicken breast, more salt and pepper, and top with the remaining cheese mix. Press down gently after each layer with your hand to keep the parcel tightly packed and compact.
6
Seal the Bacon Parcel: Fold the overhanging bacon ends tightly back over the top layer, pressing down firmly with your palm to create a neat, contained bacon parcel. If you feel it is not holding its shape, use a piece of butcher's twine to tie it together.
7
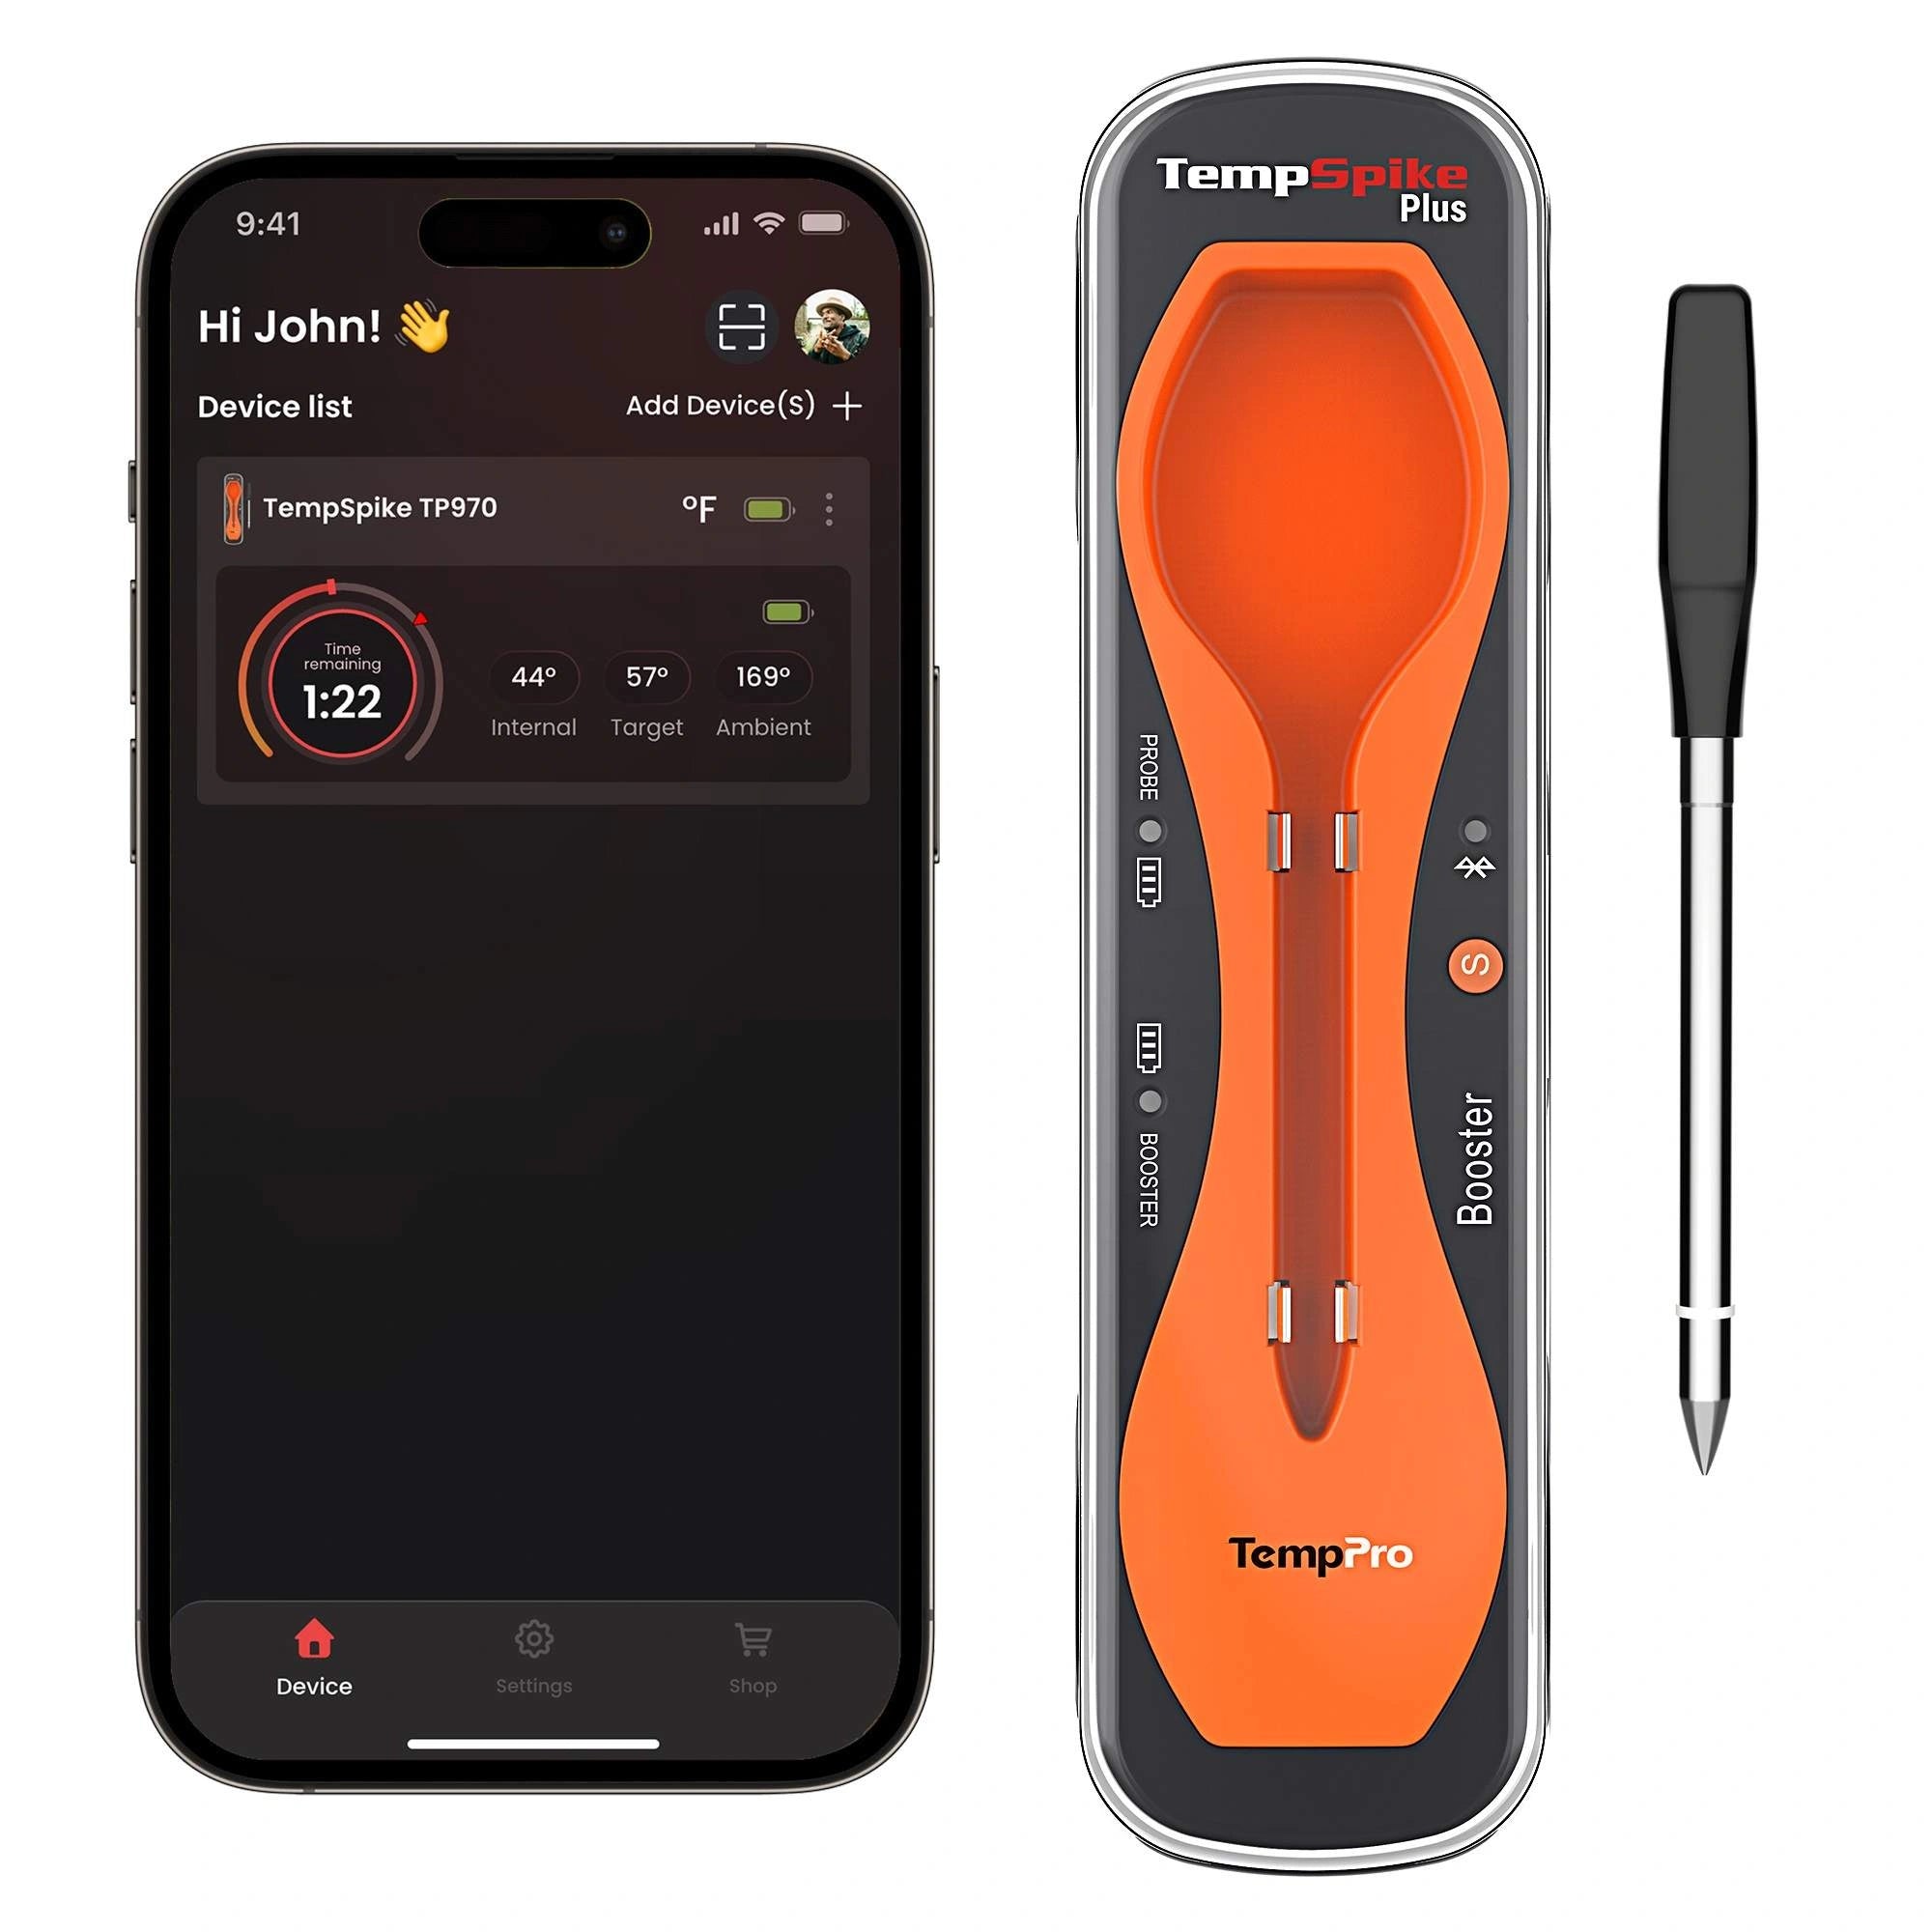
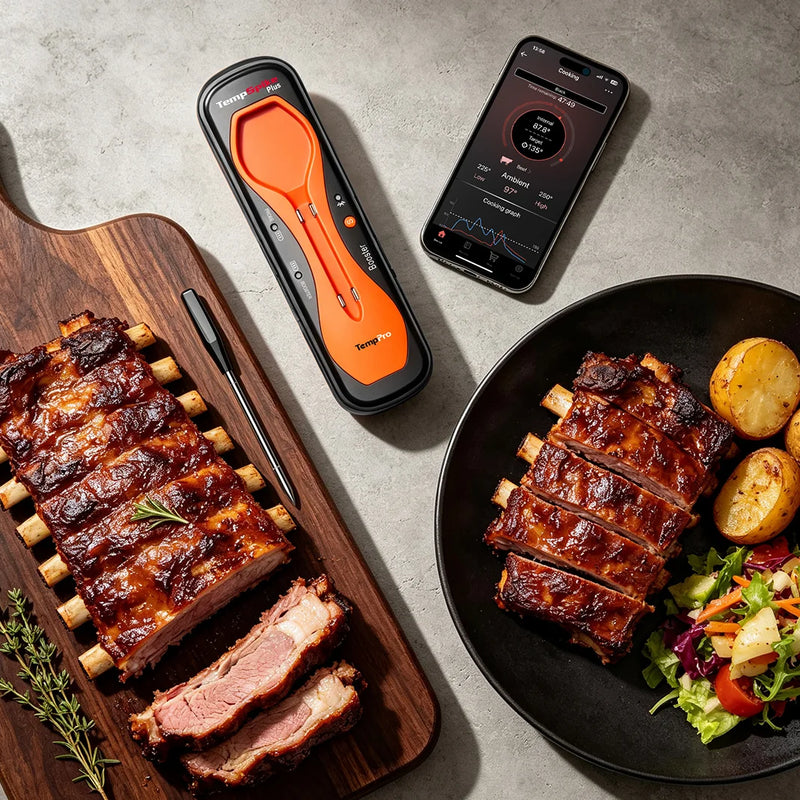
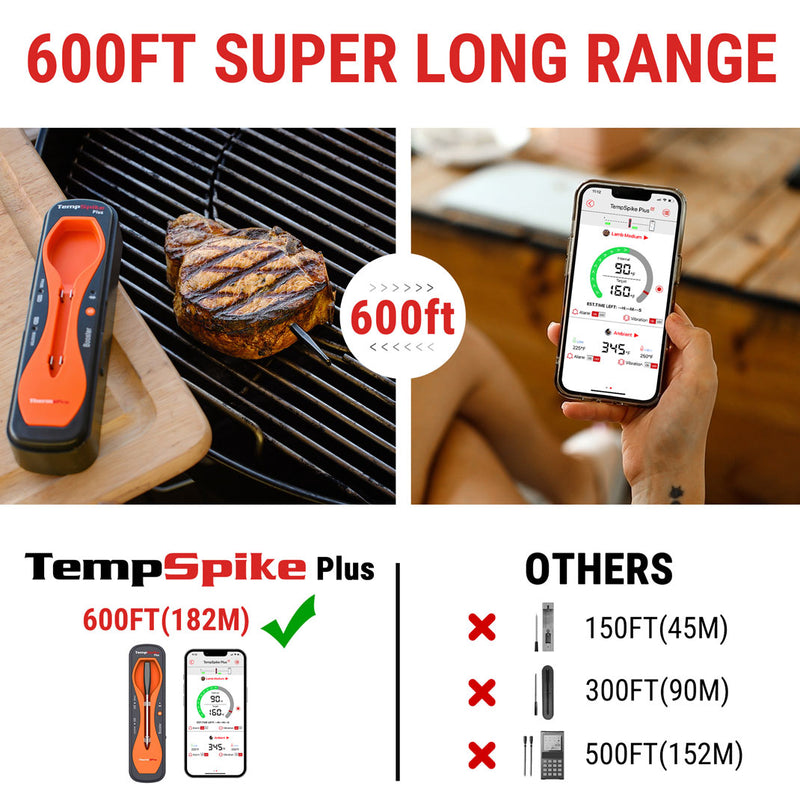
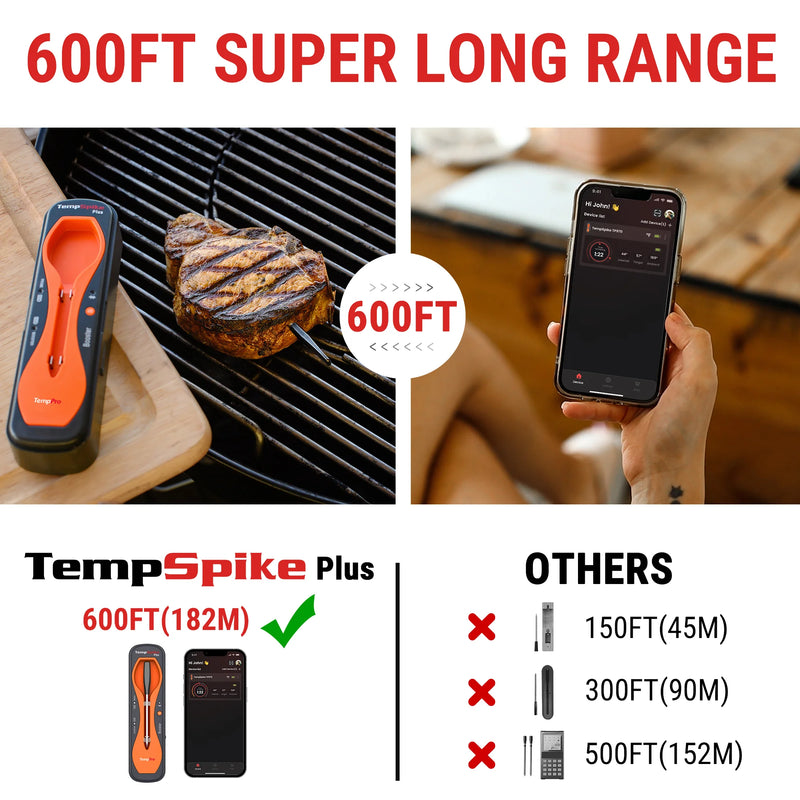
Insert the Meat Thermometer: Grease your baking dish with a small piece of butter. Flip the spoon over to turn the bacon parcel out directly into the dish. Take the probe of your TempPro TP970 TempSpike Plus 600-ft Wireless Meat Thermometer and insert it horizontally into the absolute center of the meat filling. Make sure the probe is inserted up to the safe-insert line.
8
Roast to Perfection: Pop the baking dish into your preheated oven at 350°F (175°C). Because the TP970 TempSpike Plus is 100% wire-free, you can close the oven door completely with zero hassle. Track the cooking progress live on your smartphone. Bake for about 30 minutes until the bacon is beautifully crispy and golden, and the app alerts you that the internal temperature of the chicken has reached a perfectly safe and ultra-juicy 145°F to 150°F (63°C to 66°C).
9
Rest, Slice, and Serve: Pull the sizzling dish out of the oven. Let the roast rest for 5 minutes so the juices lock inside, then slide out the wireless probe of the TP970 TempSpike Plus. Slice into thick portions using a sharp knife. Watch the rich, molten cheese burst out from the center alongside the savory pan juices. Serve immediately and enjoy!
Chef's Pro-Tip
Using a truly wireless meat thermometer like the TempPro TP970 TempSpike Plus is the ultimate secret here. Traditional wired food thermometers can pull or tear at the delicate bacon jacket, causing all that gooey, glorious melted cheese to leak out into the pan. The 100% wire-free probe keeps the parcel completely intact, ensuring every single drop of cheese and juice stays inside your roast where it belongs!
Recipe Video