The Science of Crispy Chicken Skin Without Drying the Meat


 288 Comments


Why It Feels Like a Tradeoff
You pull the chicken off the heat and the skin looks perfect, deep gold and crisp. Then you cut in and the meat is dry. Or the meat is juicy and tender, but the skin has gone soft and slides off like a wet napkin. Either way, it feels like you had to pick one and the chicken made you choose.
It isn’t really a choice, though, and it isn’t the chicken’s fault. Crisp skin and juicy meat only seem to fight each other because they come down to different things happening at different points in the cook. The skin holds both water and fat, and it only crisps once the water evaporates and the fat underneath renders out. Push that too fast and the skin burns before the fat is gone; go too slow and it never crisps at all. Get the sequence and the temperatures right and you stop trading one for the other. The five steps below follow the order you’d actually cook in.
Step 1: Start With Dry Skin
Nothing else matters until the surface is dry. When chicken skin is wet, it steams instead of browning, and steamed skin stays soft no matter what you do next. Moisture is the first thing standing between you and a crisp exterior.
Pat the chicken thoroughly dry before it goes anywhere near heat, and if you have the time, leave it uncovered in the fridge for a few hours or overnight. The cold, dry air pulls even more moisture from the surface, which is why air-dried skin crisps so much better.
Step 2: Get the Surface Temperature Right
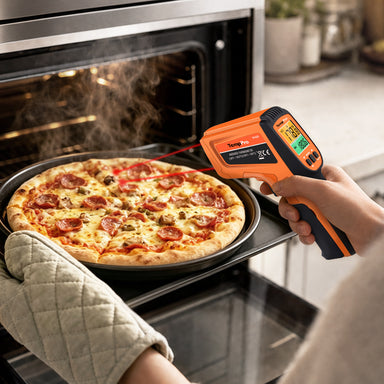
This is where most people lose control before the chicken even starts cooking. They turn on the burner or heat the pan, assume it’s ready, and drop the chicken in. Surface temperature decides almost everything about how the skin behaves, and you can’t judge it by eye. Too cool and the skin sticks and cooks unevenly; too hot and the outside scorches before it has a chance to brown.
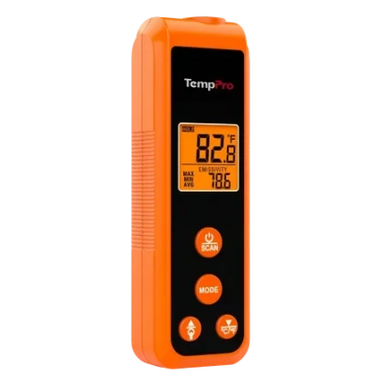
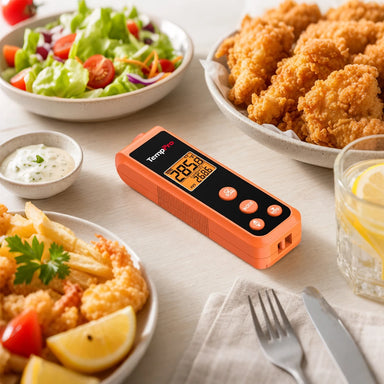
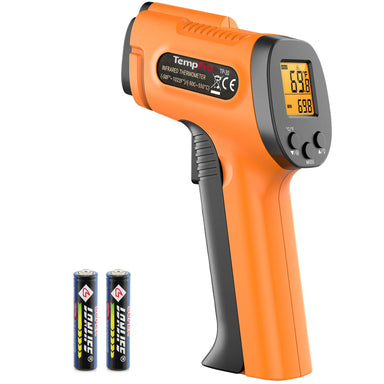
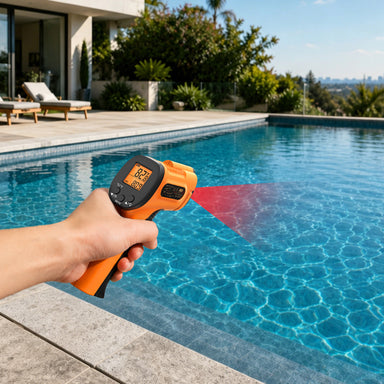
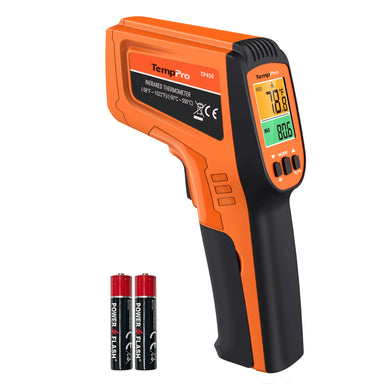
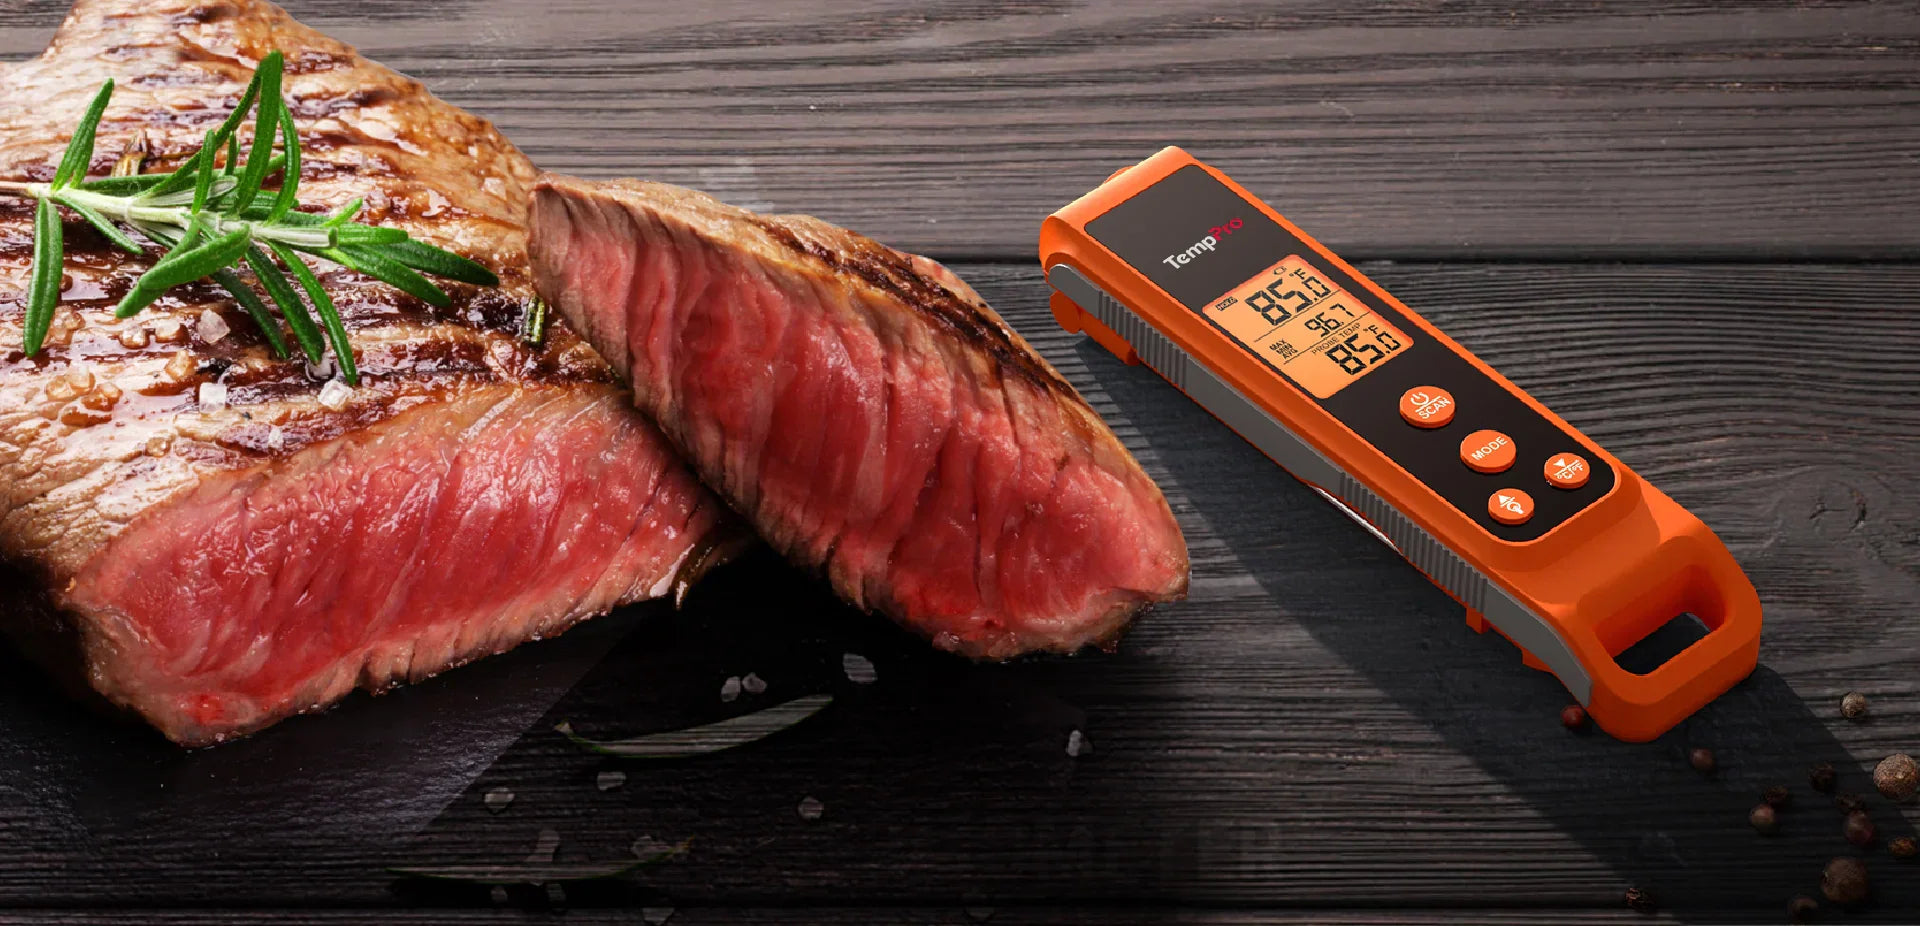
An infrared thermometer like the TempPro TP420 2-in-1 Infrared & Instant-Read Thermometer reads the surface temperature of your pan, grill, or oven in about half a second, without touching it. Instead of guessing whether the surface is ready, you know before the chicken goes down, which is what keeps it from either sticking to a cold pan or scorching on one that’s too hot. That single reading sets up everything that follows.
Step 3: Render the Fat Before You Crank the Heat
Chicken skin sits on a layer of fat that has to melt out before the skin can crisp, and this is where the biggest mistake happens. Blast it with high heat from the start, as a lot of recipes suggest, and the outside burns long before that fat has rendered.
Start over medium heat instead and give the fat time to melt out slowly. Only once it has rendered do you raise the heat to drive off the last of the moisture and crisp the surface. Timing the switch is the whole game, and a quick infrared thermometer( I recommend TempPro TP420 2-in-1 Infrared & Instant-Read Thermometer) check tells you when your surface is where it needs to be for each stage.

Step 4: Leave It Alone Until It Releases
Once the chicken hits the pan or grate, resist the urge to move it. Skin needs time to form a crust and bond with the surface, and poking or flipping it too early tears that crust apart before it can set.
Left alone, the chicken naturally releases from the surface when it’s ready to turn. If it’s sticking, it isn’t ready yet. Wait for that clean release and you keep the crisp layer intact.
Step 5: Cook to the Right Internal Temperature
It’s easy to get so focused on the skin that you forget the meat underneath, and that’s how crispy chicken ends up dry. Crisp skin means nothing if the inside is overcooked, so the internal temperature is what you check to protect the meat.
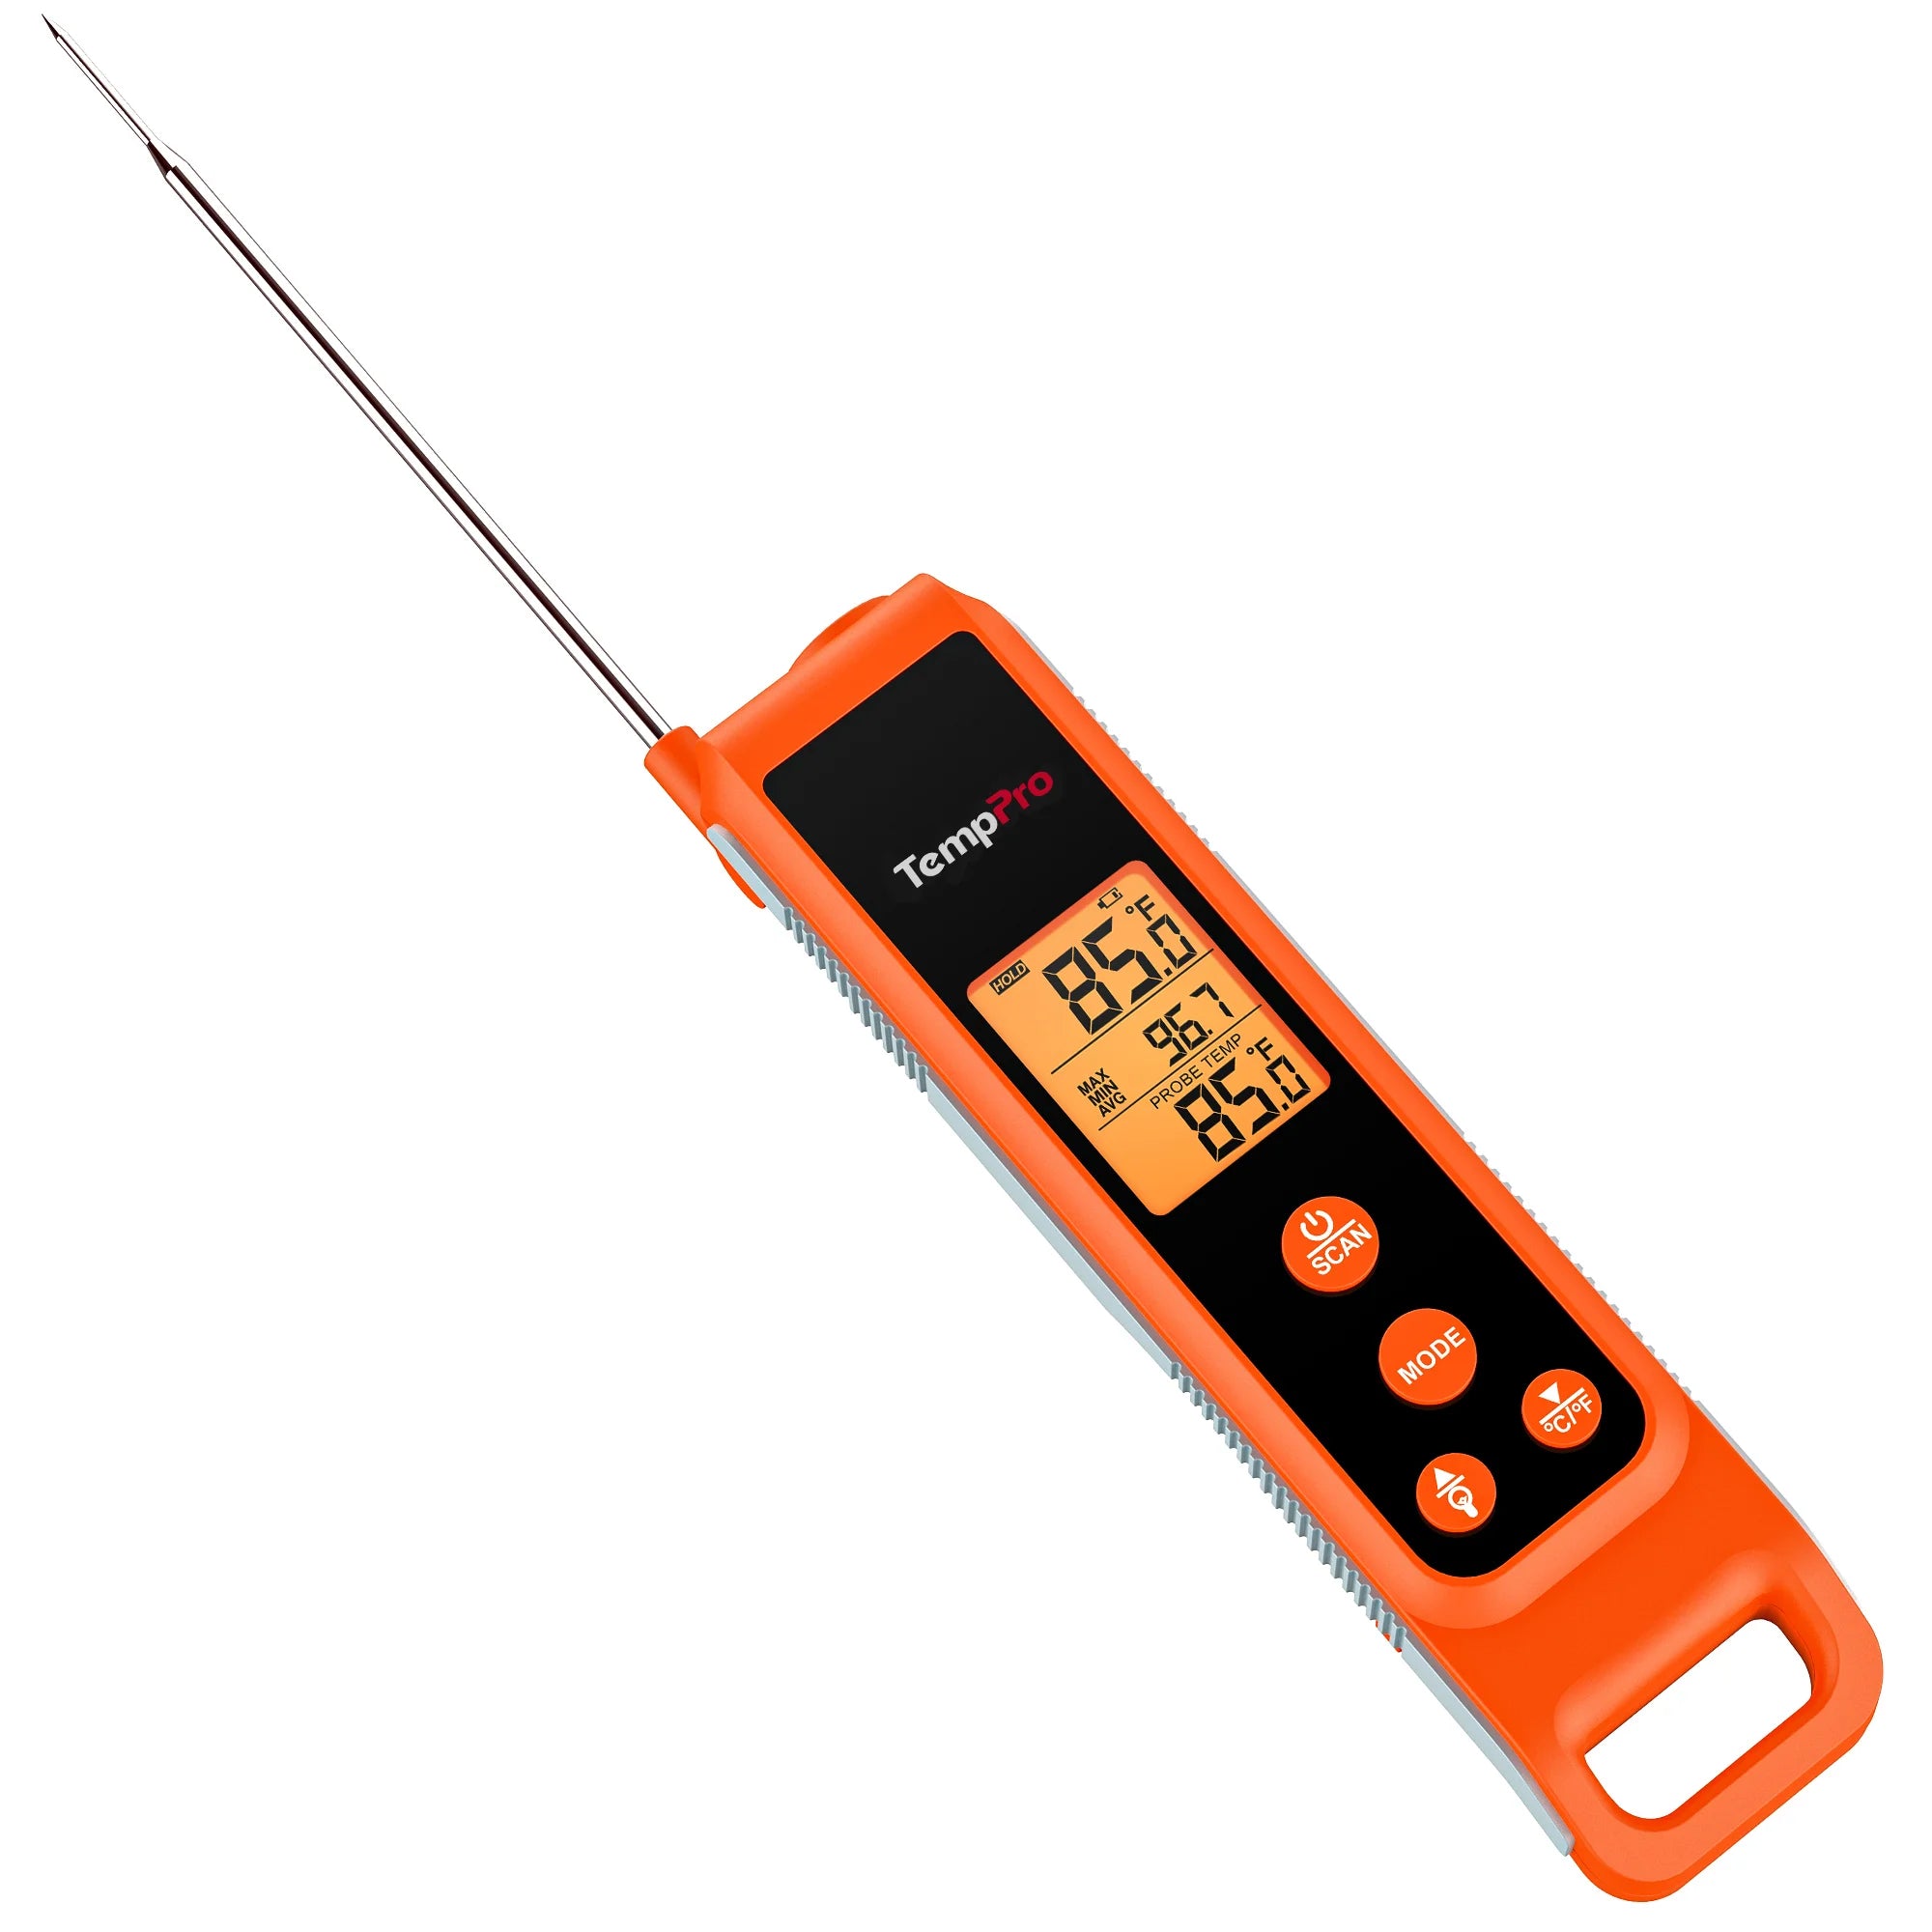
White meat is done at 165°F (74°C), while thighs and legs are better taken to around 175°F (79°C), where their connective tissue breaks down and the meat turns tender rather than rubbery. This is where the probe side of the TempPro TP420 comes in. Its instant-read probe checks the internal temperature in seconds, and the long 5.3-inch probe keeps your hand well clear of a hot pan or grill. The infrared reads the surface so the skin crisps; the probe reads the meat so it stays juicy, and between the two you’re controlling both ends of the cook at once. A 15-second reading lock even holds the number so you can pull back from the heat and read it safely.

Control, Not Intensity, Is the Secret
Crispy chicken skin isn’t about a special seasoning or a clever trick. It comes down to controlling three things: the moisture on the skin, the fat rendering underneath, and the temperature at every stage. Dry the skin, render the fat gently before you raise the heat, and watch the internal temperature so the meat never overcooks, and you’ve removed the three things that ruin crispy chicken.
Most people miss on all three because they guess. They guess when the pan is hot, guess when the chicken is done, and guess when to flip it, so some days it works and some days it doesn’t. The TempPro TP420 2-in-1 Infrared & Instant-Read Thermometer takes the guessing out of both ends, reading the surface with its infrared and the meat with its probe, so you’re working from real numbers instead of luck. Once you control the heat instead of chasing it, crisp skin over juicy meat stops being a tradeoff and becomes the standard result.

FAQ
Q1: Why is my chicken skin not crispy?
Usually because there’s too much moisture on the surface, or the cooking temperature was too low.
Q2: What temperature makes chicken skin crispy?
High surface heat, but only after the fat under the skin has rendered. Applied too early, it just burns.
Q3: How do I keep chicken juicy while getting crispy skin?
Watch the internal temperature and pull the chicken as soon as it’s done, around 165°F for breast and 175°F for thighs.
Q4: Do I need a thermometer for crispy chicken?
It’s not required, but it’s the most reliable way to balance a crisp exterior with juicy meat.
Q5: What’s the biggest mistake when cooking chicken skin?
Using high heat too early and not controlling the moisture on the skin.


Comments
Recommended Products